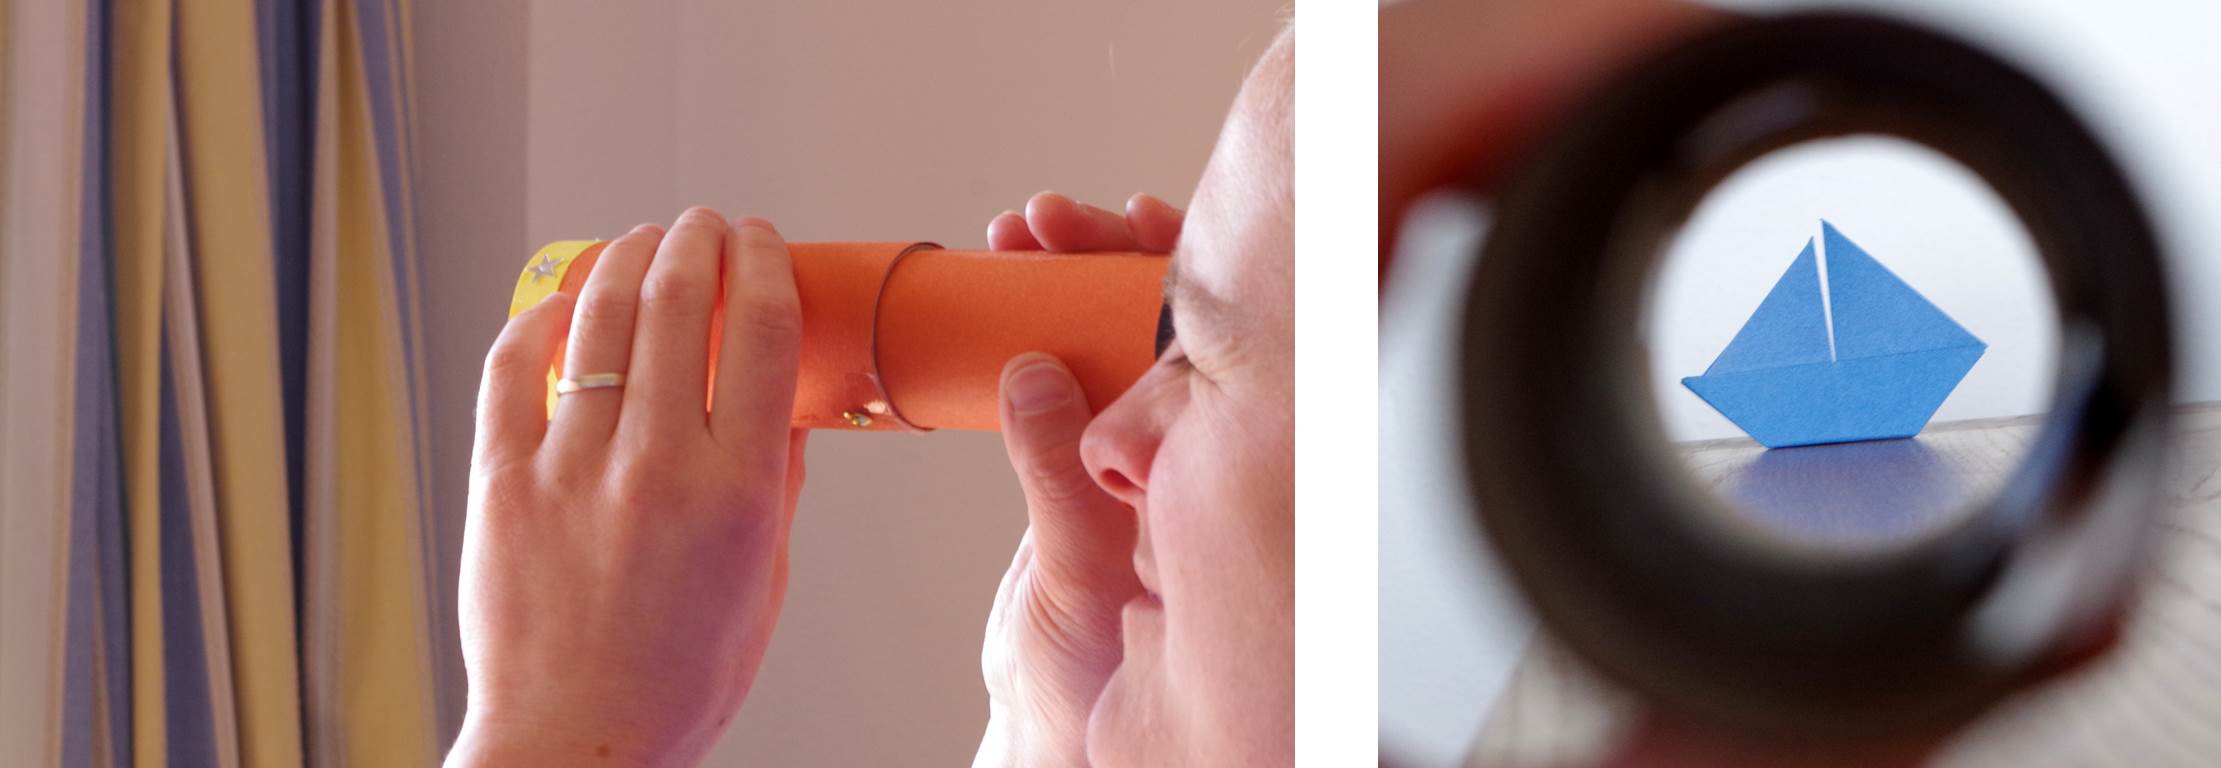
This is a fun but tricky craft, perhaps better suited to more experienced crafters. Although this telescope doesn’t magnify anything, it is telescopic and great for playing at being a sailor, pirate or explorer. To make one you need at least one split pin (see the ‘stuff needed’ section below) and a couple of cardboard tubes.
Stuff Needed:
- Two small cardboard tubes (e.g. toilet roll tubes).
- Scissors.
- Sticky tape.
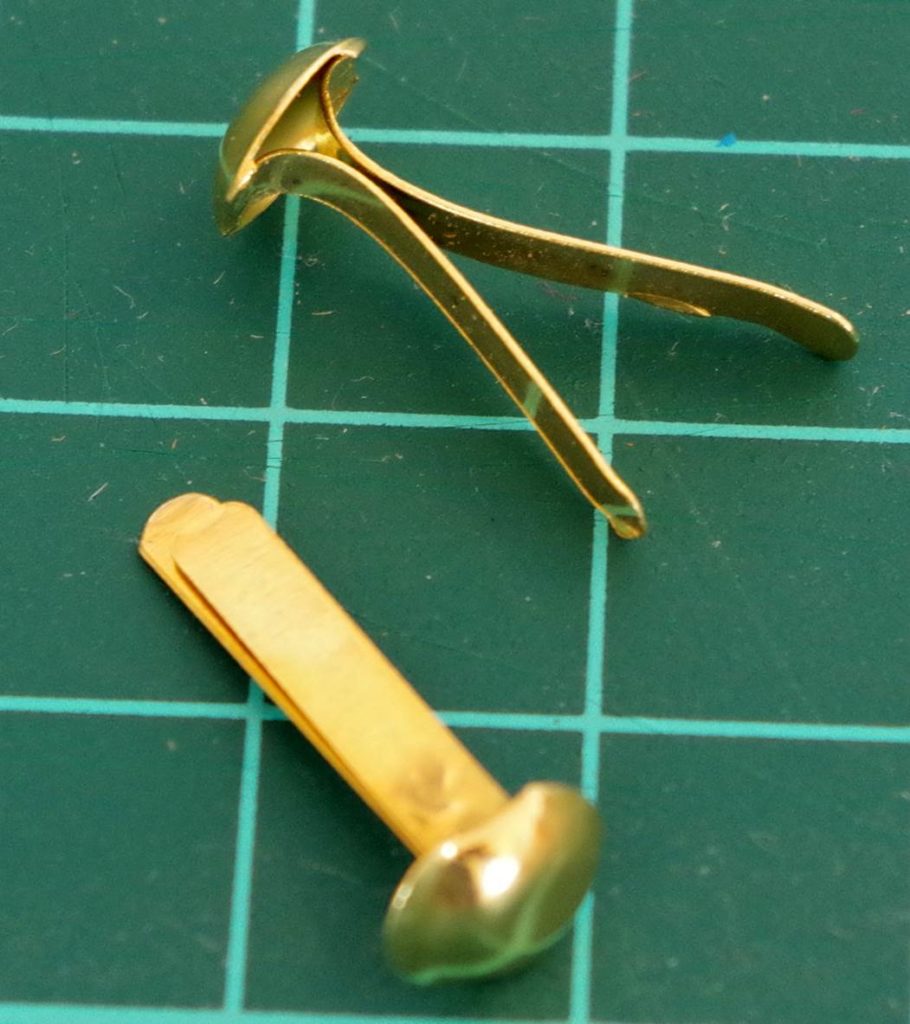
- A split pin (see image below).
- Paper or paints to decorate the telescope.
- A glue stick (if using paper or glitter etc. for decoration).
Instructions:
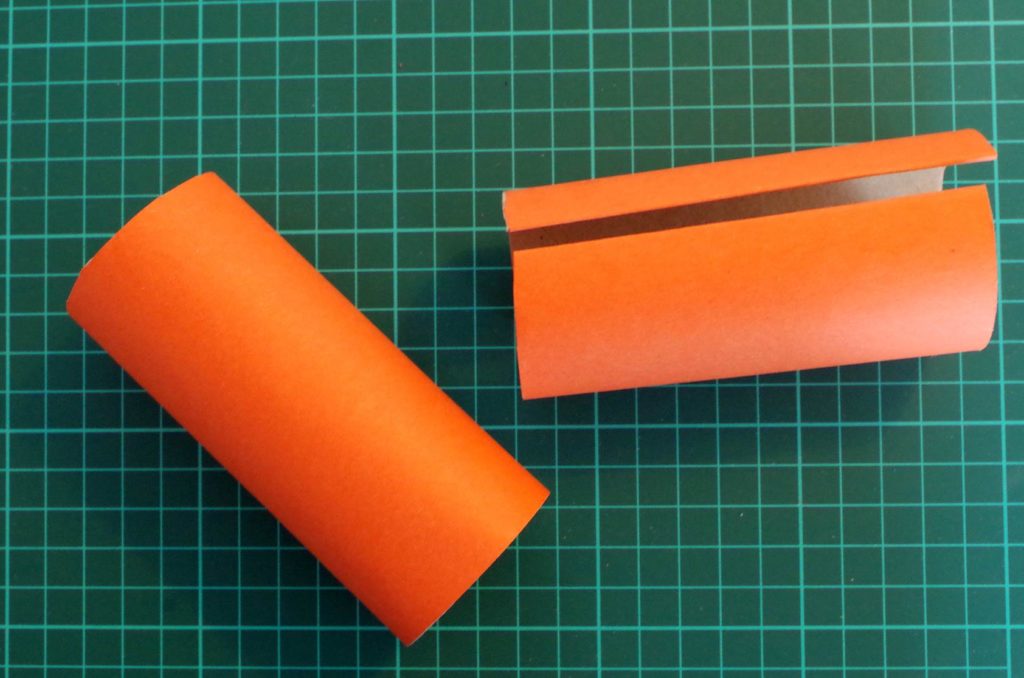
1. Cut down the length of one of the cardboard tubes.
2. If using paper for decoration, cover both of the tubes with paper now: cut out a piece of paper to fit each tube and glue it on. If using paint, wait until later on to decorate it.
3. Cut some lengths of tape and have them ready nearby.
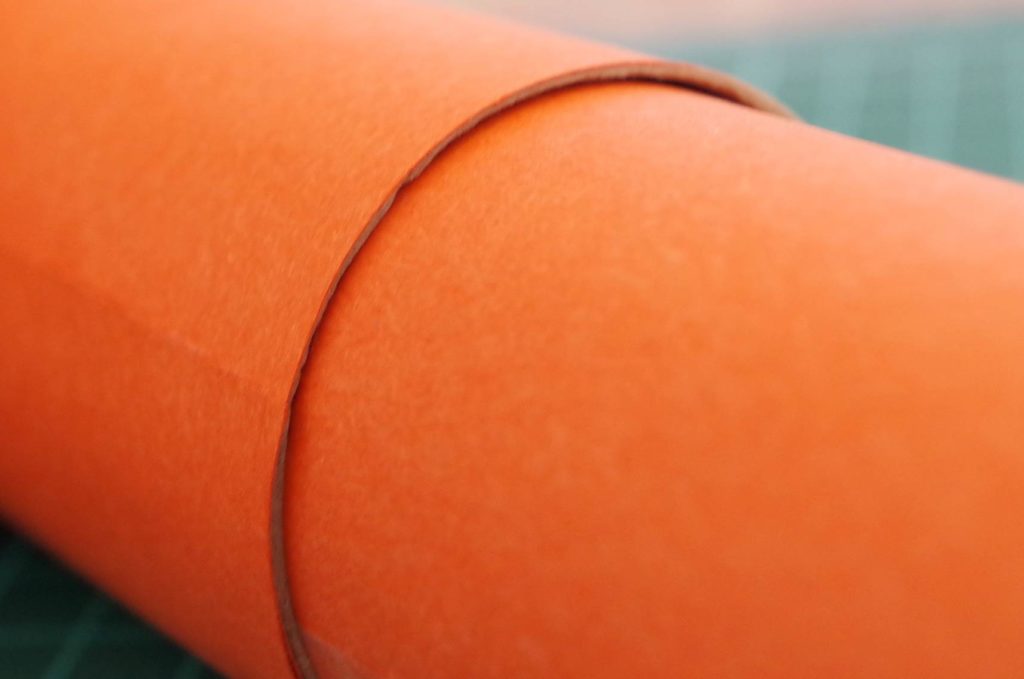
4. Take the tube you have cut and let one side overlap the other so the tube gets smaller and can fit inside the other tube. This stage is very important. Take time to figure out the exact size you want the smaller tube to be. It needs to fit snugly inside the bigger tube and slide easily up and down. If you make it too small, it will wobble later. When you’re happy with it, take it out and tape the join in place. Test it again, then tape up the join fully, down the whole length of the tube.
[If you choose to paint your telescope, you could paint the two parts separately now, or wait until the end and paint the whole telescope in its ‘open’ position].
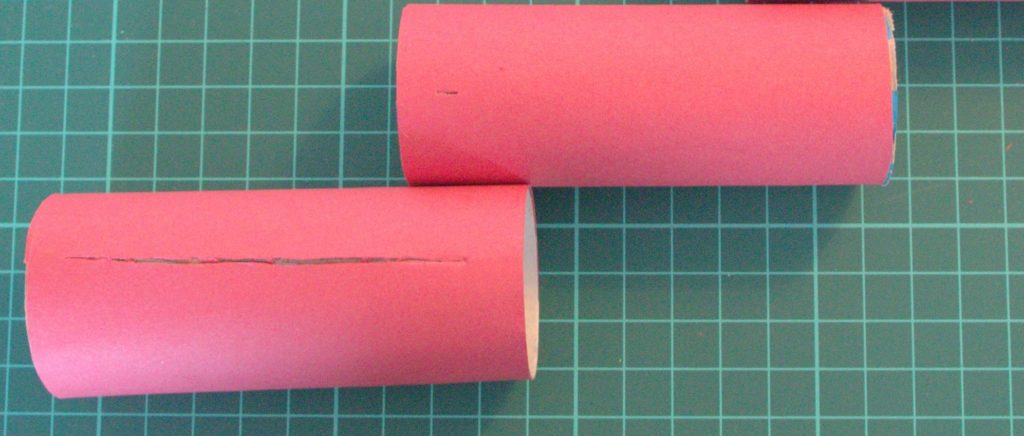
5. Cut a straight slit in the bigger tube, almost the whole length of the tube (leave 1 cm at each end). If you have a craft knife you could use this, if not use a pair of scissors. If it’s too difficult to make a neat slit, cut down the whole length of the tube, then re-tape the ends together. (Don’t let the edges overlap this time, you need the tube to stay the same size). Re-test that the smaller tube still fits and slides.
6. Cut a very small hole near one end of the smaller tube (about 1 cm from the end of the tube).
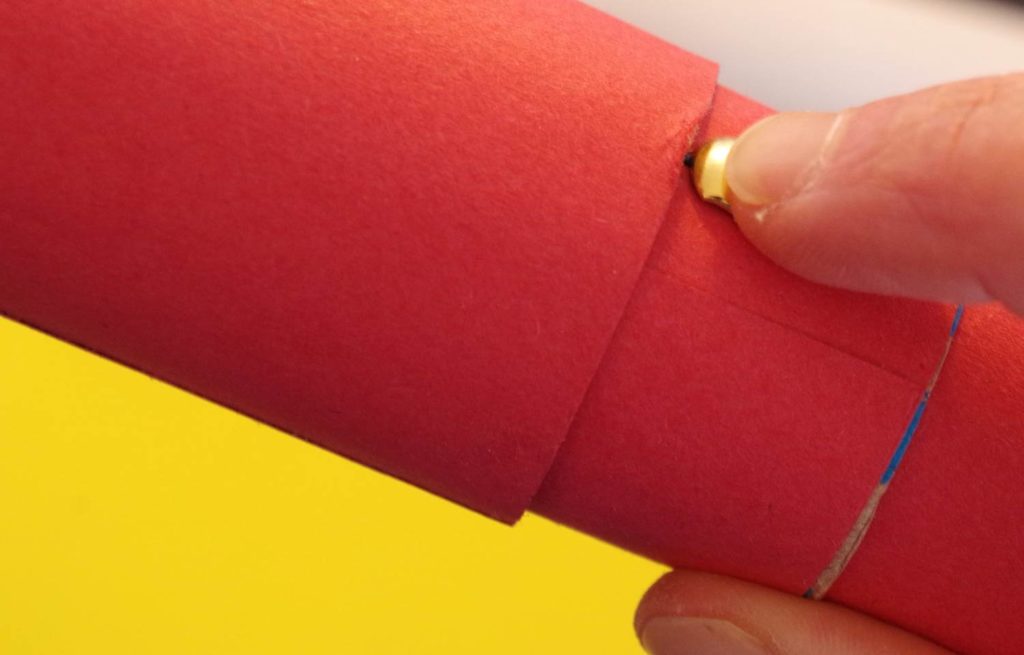
7. This is the fiddly bit: push the smaller tube into the end of the bigger one. Line up the small hole with the end of the long slit. Guide the split pin through both the slit and the small hole (if you look down the tube while you’re doing this, it makes it easier).
8. When the split pin is through both holes, push it all the way in. Slide the smaller tube all the way into the bigger one and you should be able to reach the split pin with your fingers to flatten the two pieces and hold it in place.

9. Test your telescope to make sure it slides open and closed. Do this gently but several times and it should start to run more smoothly (if it’s very hard to move it, loosen the split pin a bit).
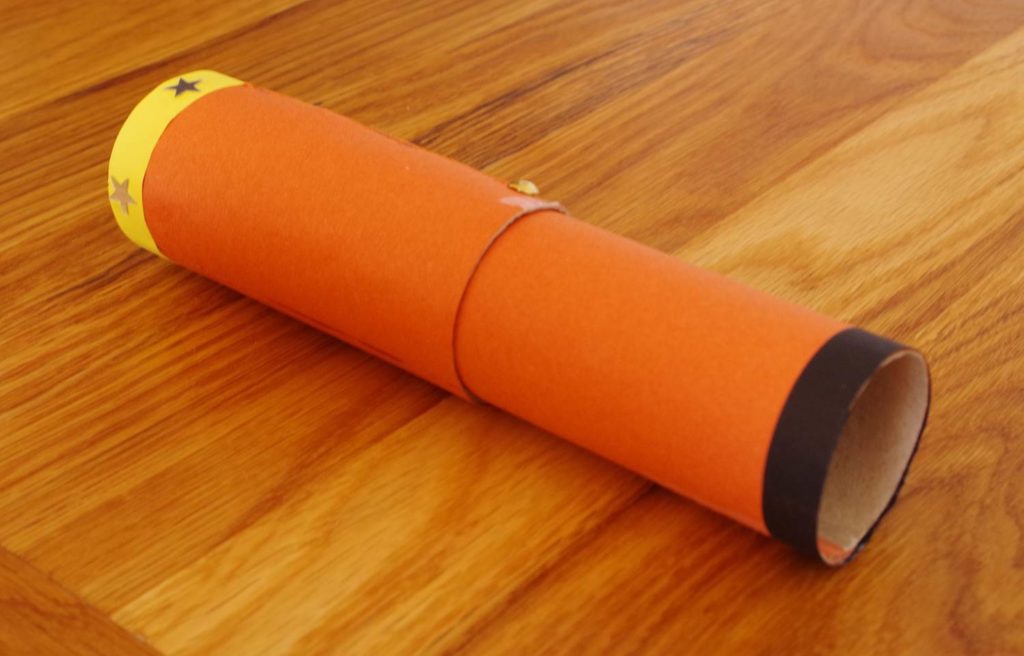
10. Finish decorating your telescope. You might want to put a dark coloured strip of paper around the end of the smaller tube as the ‘eye piece’. You could put different coloured strips of paper on both ends to cover up any tape you may have used earlier. Be careful when choosing how to decorate the smaller section; it still needs to slide in and out easily.
Alternatives
- This activity is too fiddly for young children. A younger child could just decorate a longer tube (from a roll of kitchen paper for example) and have a telescope that doesn’t slide. You could still put a strip of paper round it for an eye piece, or maybe draw rings round it where the sliding parts would normally be.
- It is possible to make a three-piece telescopic telescope but it is more fiddly to make and to use. Follow the steps as above and make a third, even smaller tube to fit inside the second one. Cut both a hole (as described above) and a long slit in the middle piece (use opposite sides of the tube). Attach the smallest piece onto the middle piece first. When you come to use the three-piece telescope, you need to push down the split pin on the middle piece with your finger as it goes into the biggest tube (see the picture below).