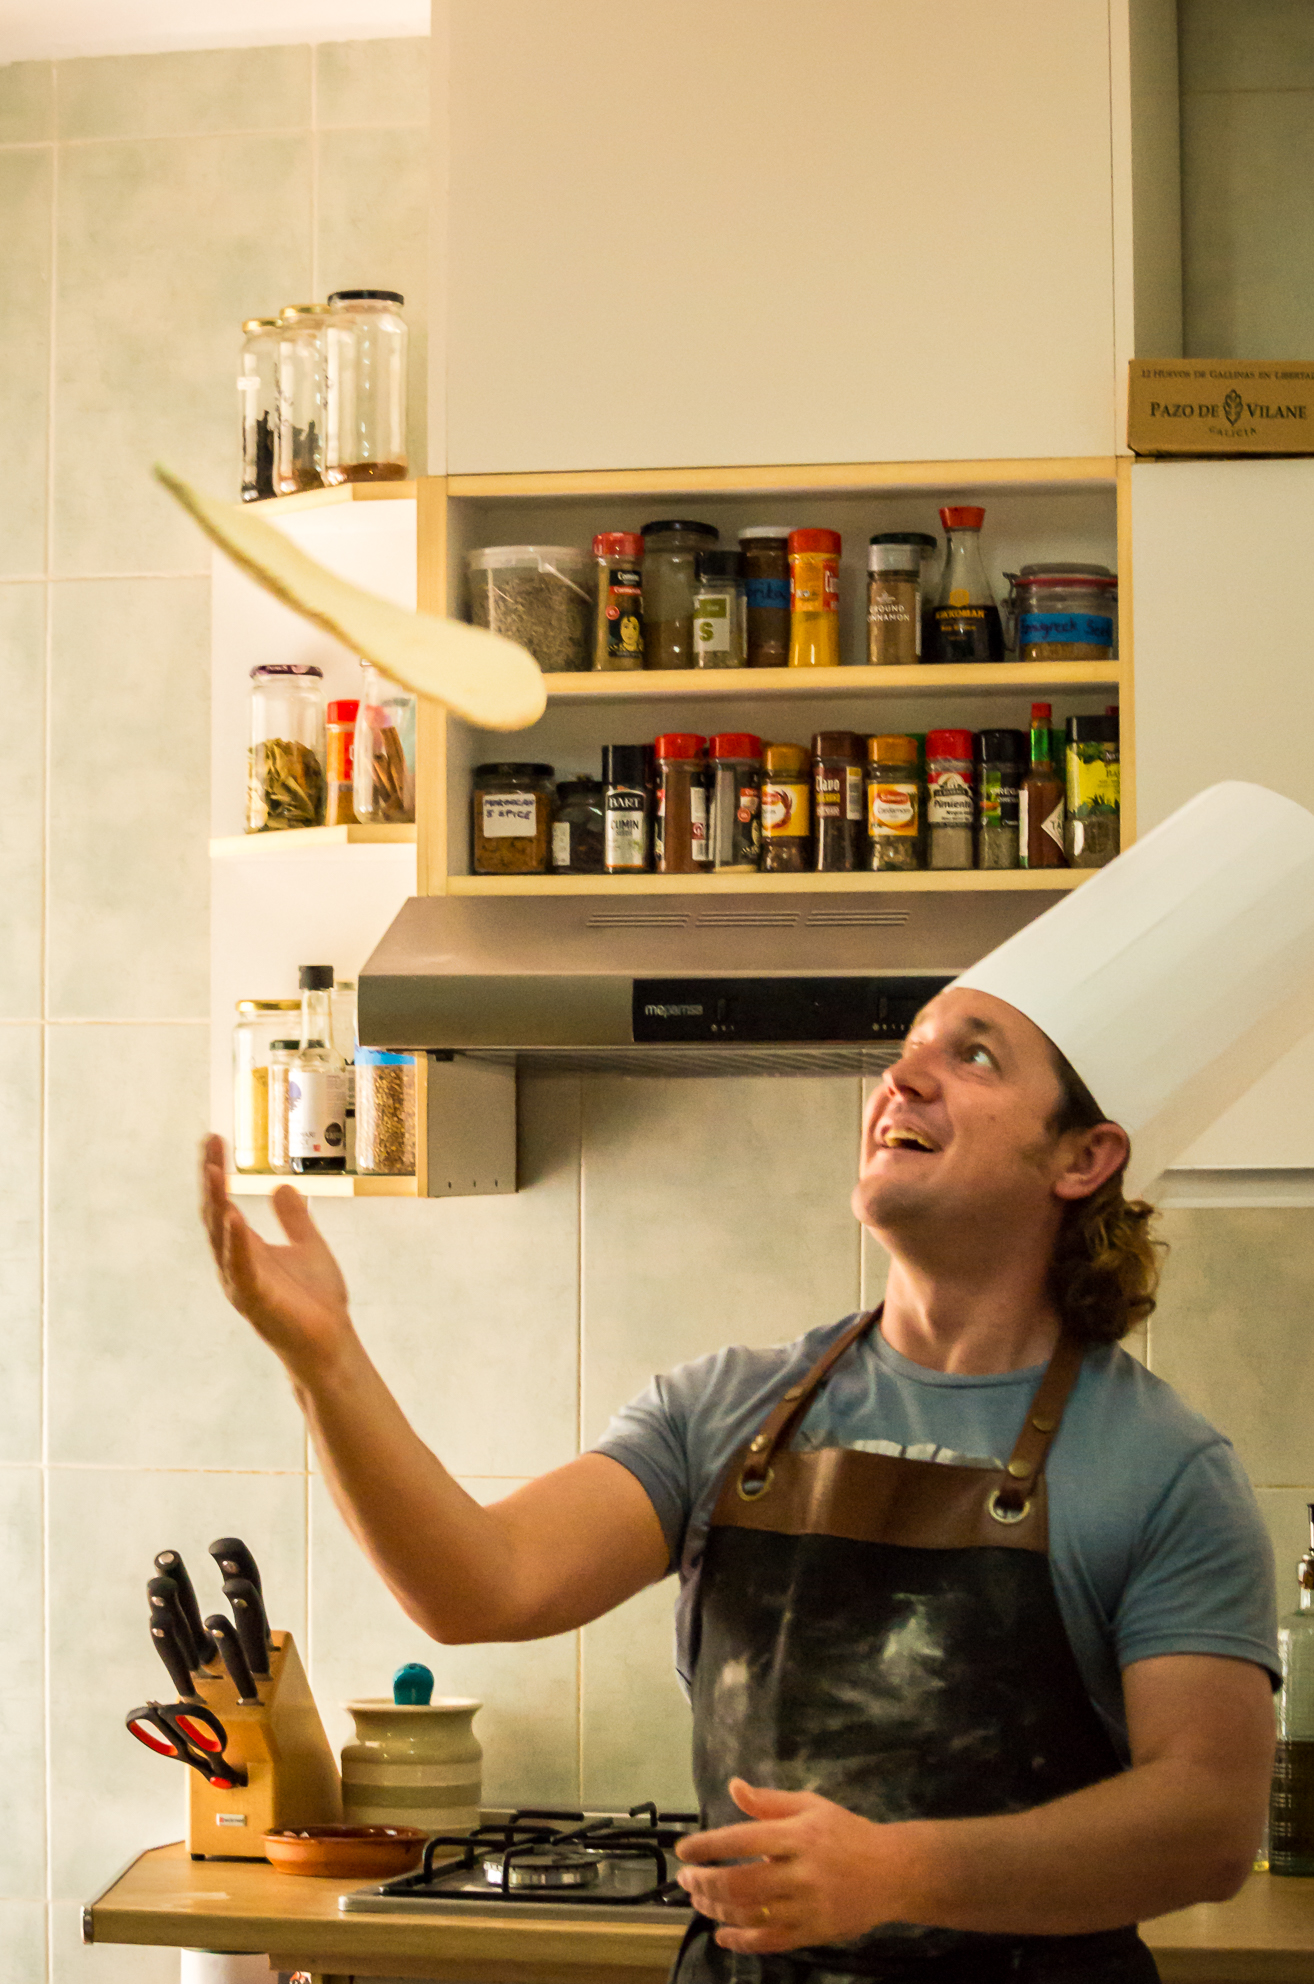
Chefs wear tall, white, pleated hats in the kitchen that date back to the 1800s. It is often said that the numerous pleats signify the number of different ways a chef can cook an egg! This paper chef’s hat can be as tall as you want to make it. It’s great for playing at being a chef but there’s no reason you can’t wear it in the kitchen while being a real chef!
Stuff Needed:
- White paper (about 5 – 6 sheets of A4).
- Cardboard (I used a strip cut from a cereal box).
- Scissors.
- Sticky tape.
- A glue stick.
Instructions:
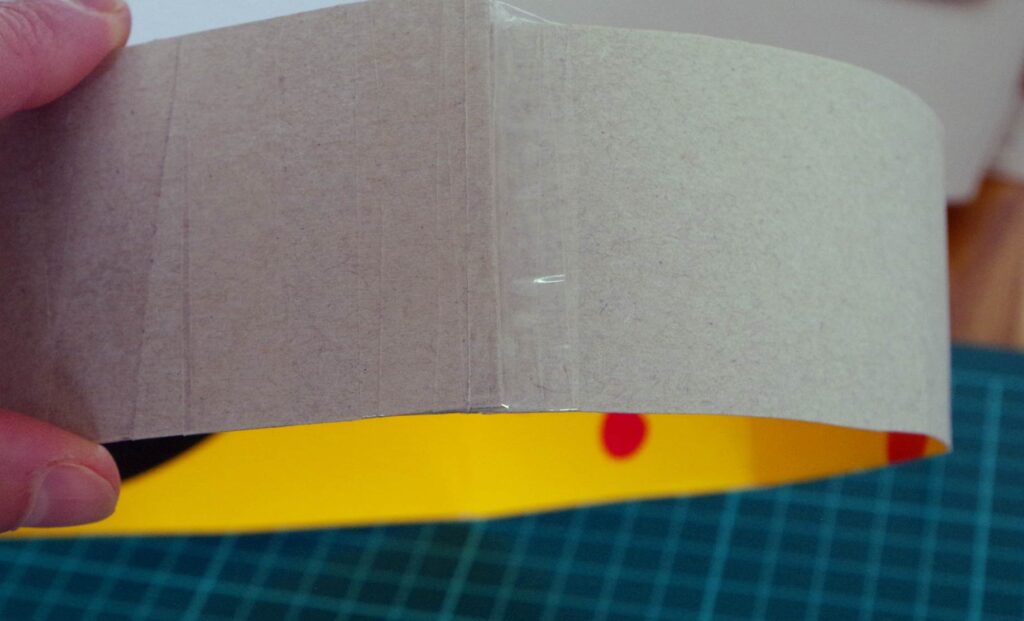
- Cut a strip of cardboard about 3cm wide and long enough to go around the chef’s head. You can stick two pieces together with tape if it’s not long enough.
- Cut a couple of pieces of tape and have them ready. Hold the cardboard strip (rough side outwards if there is one) around the chef’s head where a hat would sit, then overlap the ends so it’s a comfortable fit. (It’s much easier to do this with two people than to try to measure your own head).
- Take it off and tape the ends together, then put it back on to test it’s the right size. Adjust it if necessary.
- Cut strips of white paper about 9cm wide and choose the length depending on how tall you want the hat to be (20-30cm is probably about right). For example, you can cut strips across the width of an A4 piece of paper for a shorter hat and along the length for a taller hat. The number of strips needed will depend on the size of your headband.
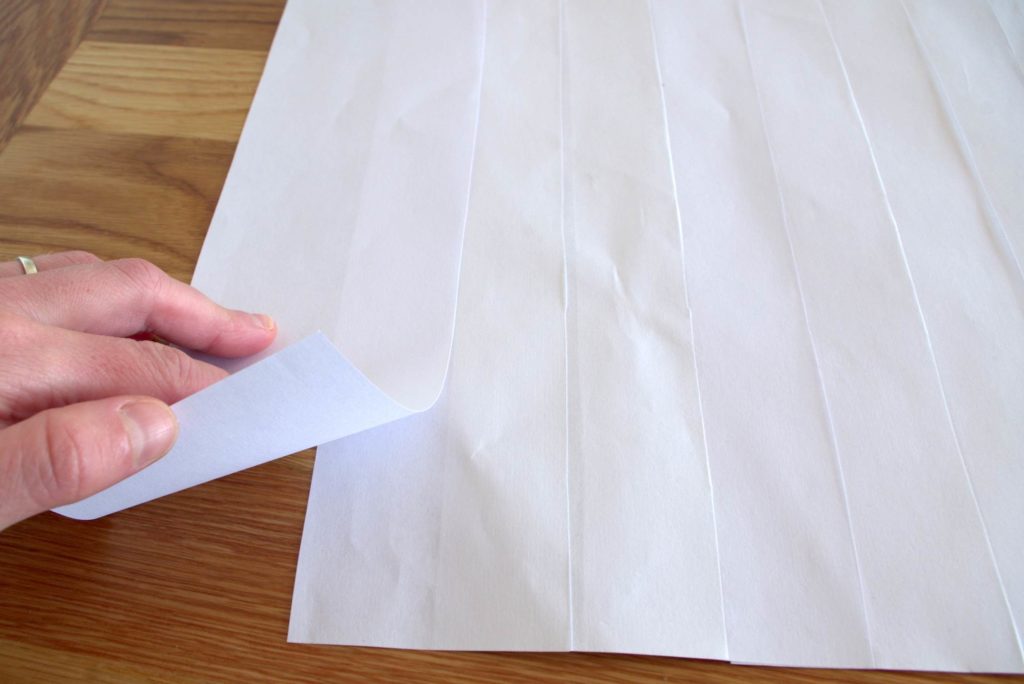
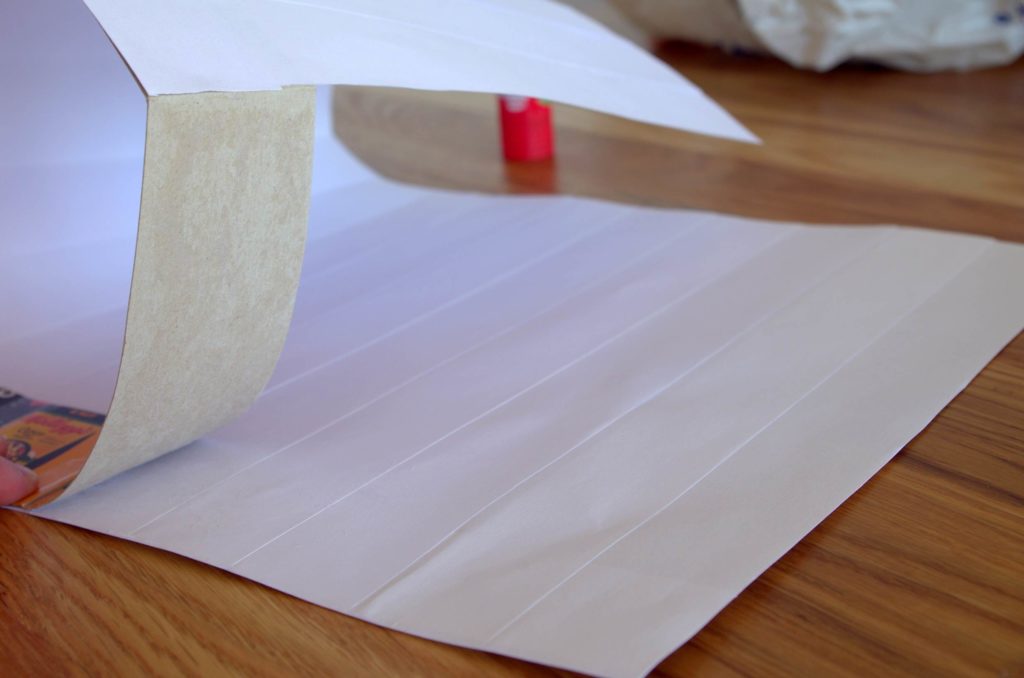
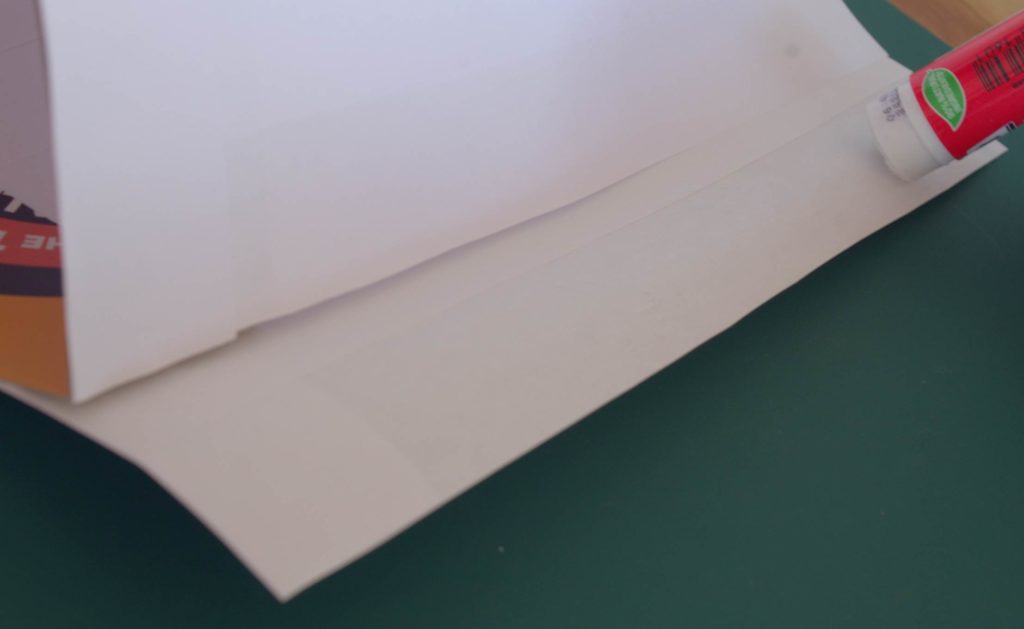
- Using a glue stick, cover half of a strip of paper in glue (along the long side). Stick a second strip onto the first strip so that half of it overlaps.
- Keep adding more strips, each one half overlapping the next, until you have a long enough section to go all the way around your headband and a bit extra so the ends will just overlap.
- (Optional) Chefs’ hats often have a fold at the bottom. If you’d like one, add another strip of paper about 3cm wide across the bottom of all the other strips.
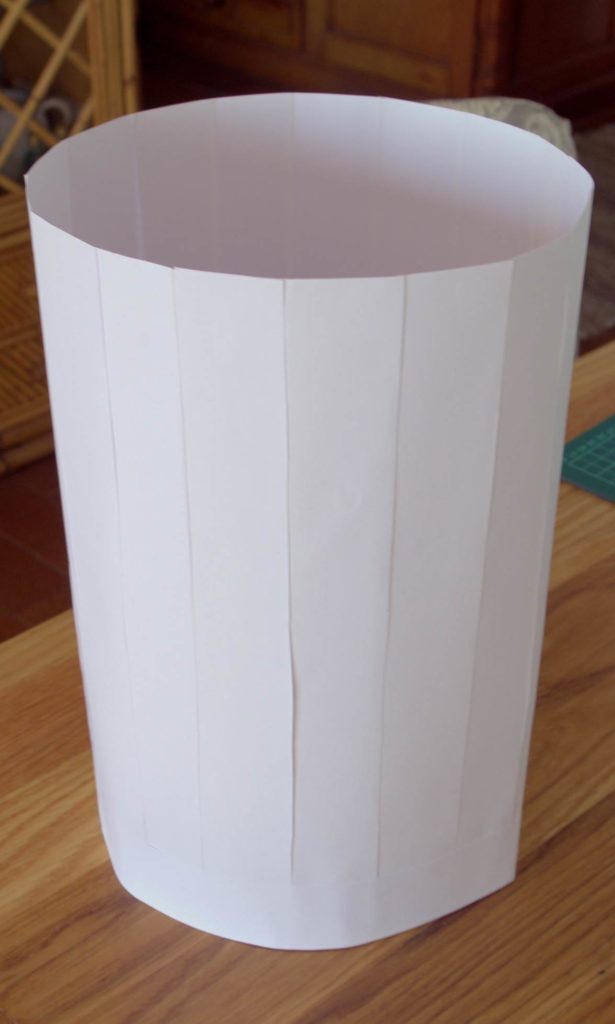
- Decide which side of your white piece looks the smartest, then put it on the table with this side facing down and the strips lying vertically. (Make sure if you’ve added a ‘fold’ strip, that this is at the bottom, facing the table). Cover the outside of the cardboard headband in glue.
- Carefully line up the headband with the bottom of the paper and stick it down. Slowly roll the headband along the bottom of the paper, lining up the edge and pressing down to stick it on as you go.
- Just before you stick the last bit on, add a line of glue up the edge of the paper so it will stick onto the first edge you made.
- Leave the glue to dry then take your chef’s hat to the kitchen and test it out!
Did you know…? A chef’s hat is really called a ‘toque blanche’ which comes from French and means ‘white cap’.