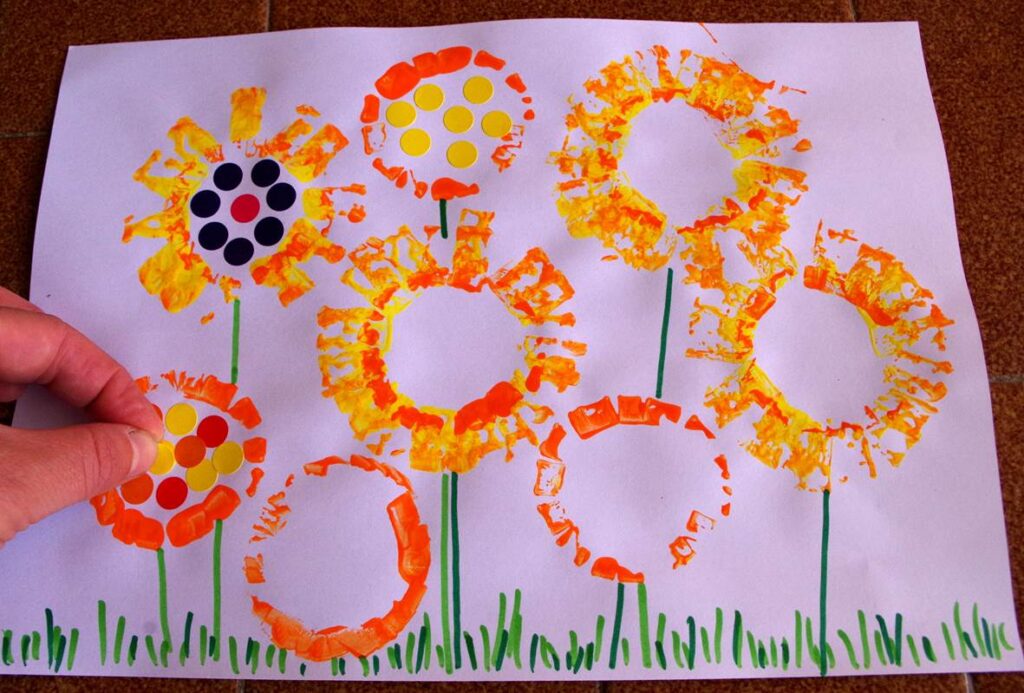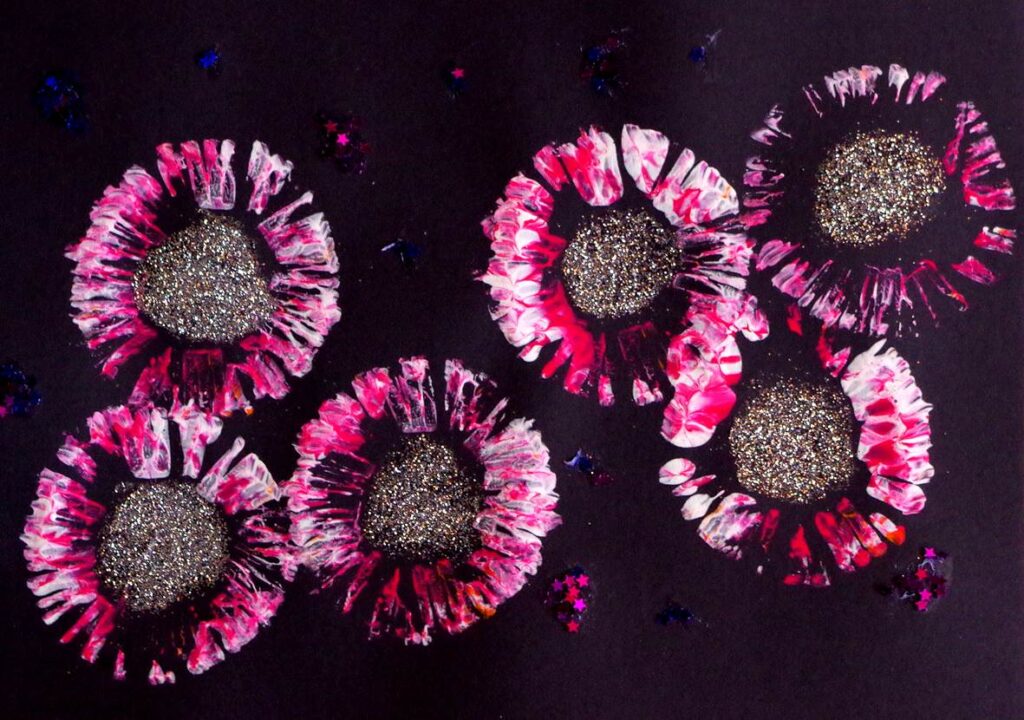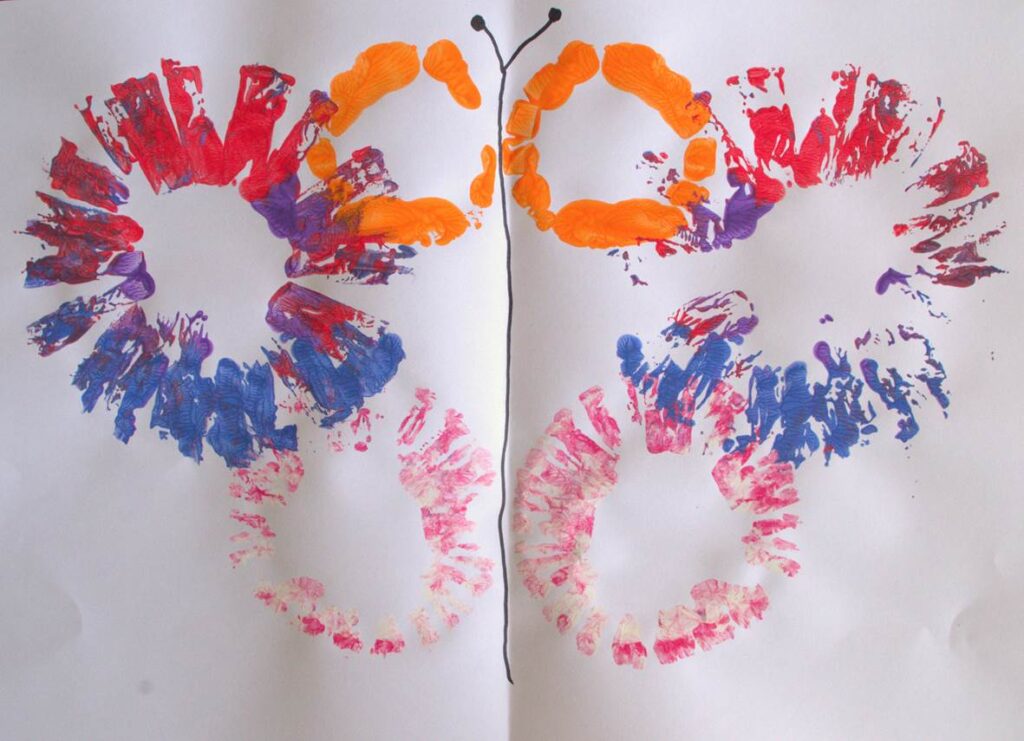
Printing is a fun paint-based activity for all ages. Flared tube printing is a classic activity which uses prints made from recycled cardboard tubes. They’re quick to make, effective and fun to use. You can just make print patterns for fun, or you could use the finished designs to make something else. If you have large sheets of paper you could make your own wrapping paper or you could add decoration once the prints have dried and turn them into pictures (see below for ideas).
Stuff Needed:
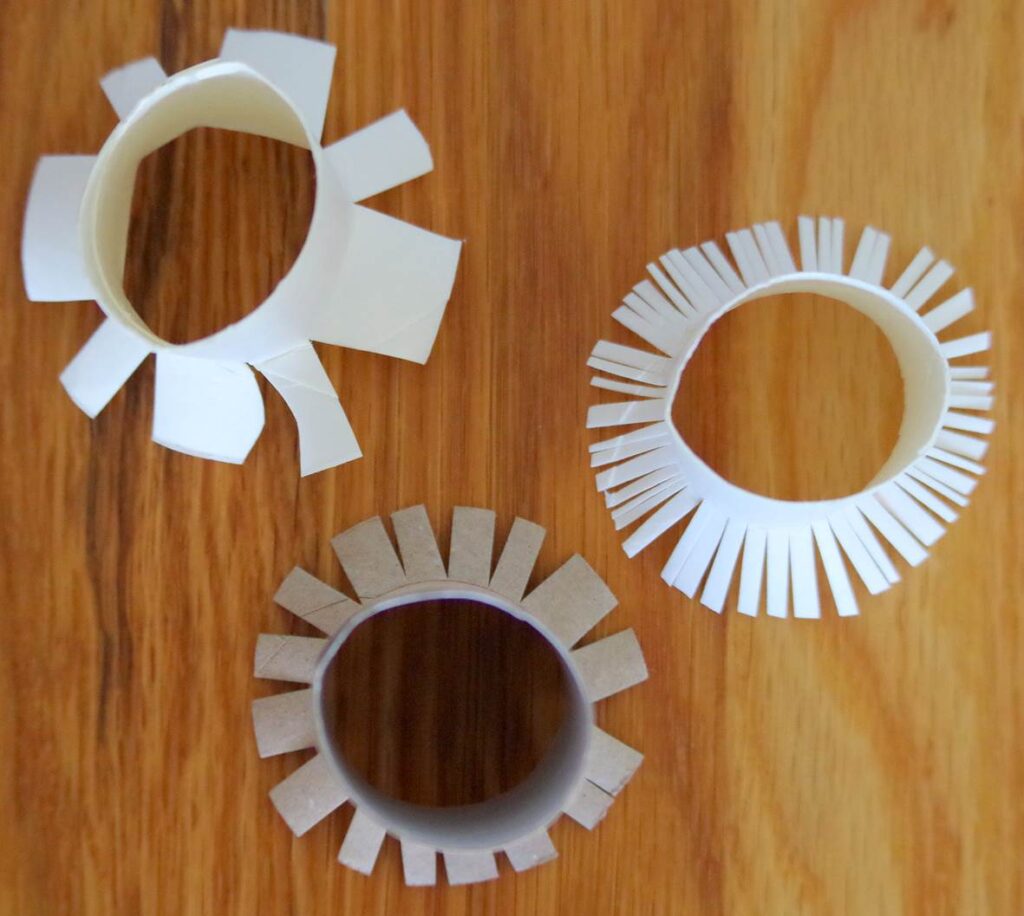
- Cardboard tubes (toilet roll or kitchen roll tubes are ideal).
- Scissors.
- Paint.
- A flat container to put paint in (e.g. a plate).
- Paper to print on.
- (Optional) Coloured pens or crayons / stickers / glitter and a glue stick for decoration afterwards.
Instructions:
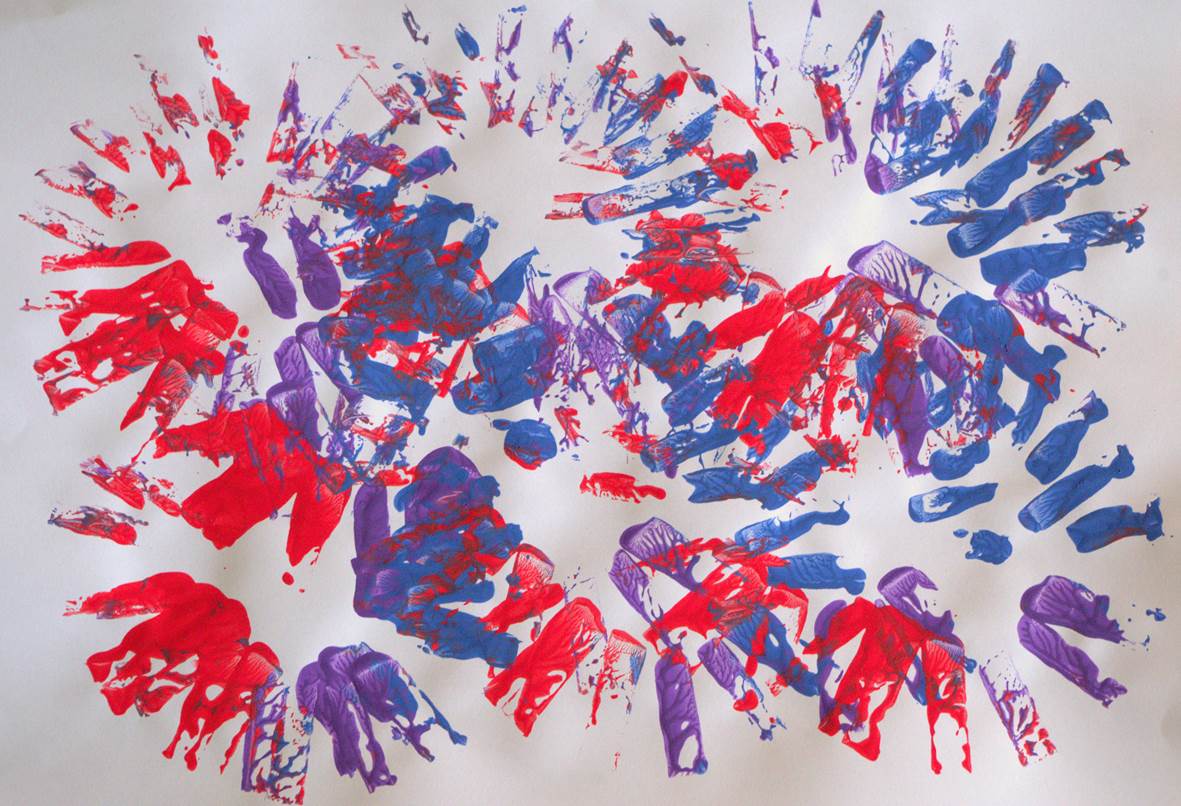
- Make cuts all around one end of each tube. Each cut should be about the same length, but you can make each tube different. For example, if you have four tubes you could make very short cuts around the first tube, mid-length cuts around the second, long cuts around the third, and make cuts very close together around the fourth one. Experiment and see which patterns you like best!
- Prepare a space to paint. You will probably want to make a few pictures so you’ll need a separate space ready to put your pictures to dry.
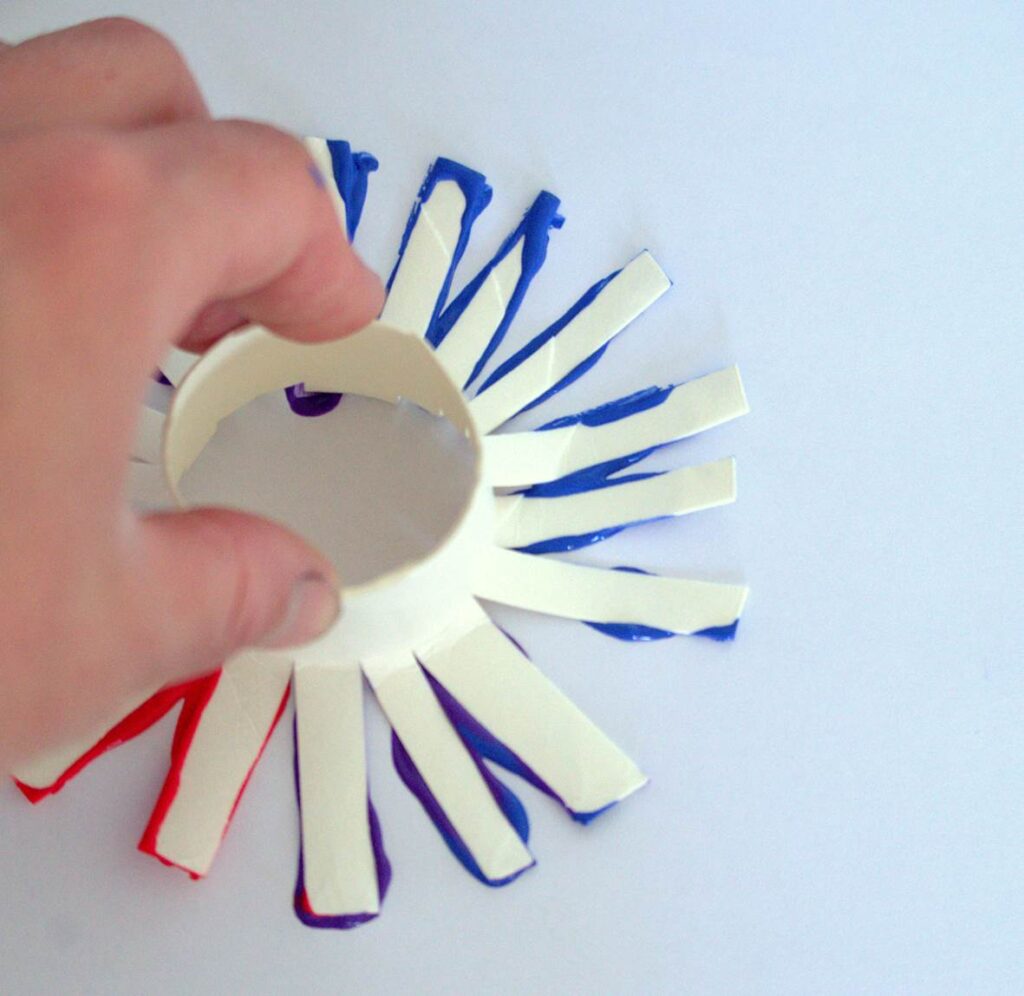
- Put some paint onto a flat surface (a paper plate is ideal for this). You can put two colours on the same plate if you want to.

- Dip the flared end of the tube into the paint and press it onto your paper.
Note
Straight cuts work better than curved or zig-zag ones. You can make lots of cuts very close together or very long (or very short) cuts to make different patterns. Vary the spacing for different effects. If you have tubes with different sized openings (that are a thin enough card to cut) you can also make different sized circles.
Adding decoration to make pictures
Once the paint is dry you can add decoration using coloured pens, crayons, stickers or glitter to make your flared tube printing patterns into pictures.