Wax crayons used on their side can be used to make rubbings. The first crayon rubbing activity here has been designed for adults to do with young children (children aged about 3-4 really enjoy this activity), but of course anyone can join in. The second activity should be achievable by older children on their own but younger children could join in with help.
Stuff Needed:
- Wax crayons (without paper round them*).
- Paper.
- Fairly thin cardboard (I used an old cereal packet).
- Scissors.
- Pencil.
- A bowl and some smaller circular items to draw round – if doing the planet rubbings.
- Black paper (optional).
*If you have a toddler in your life, removing the paper from the wax crayons could become an activity in itself! Just make a cut so they have somewhere to start then leave them to it. Be aware that all crayons from this point forward will probably receive the same treatment.
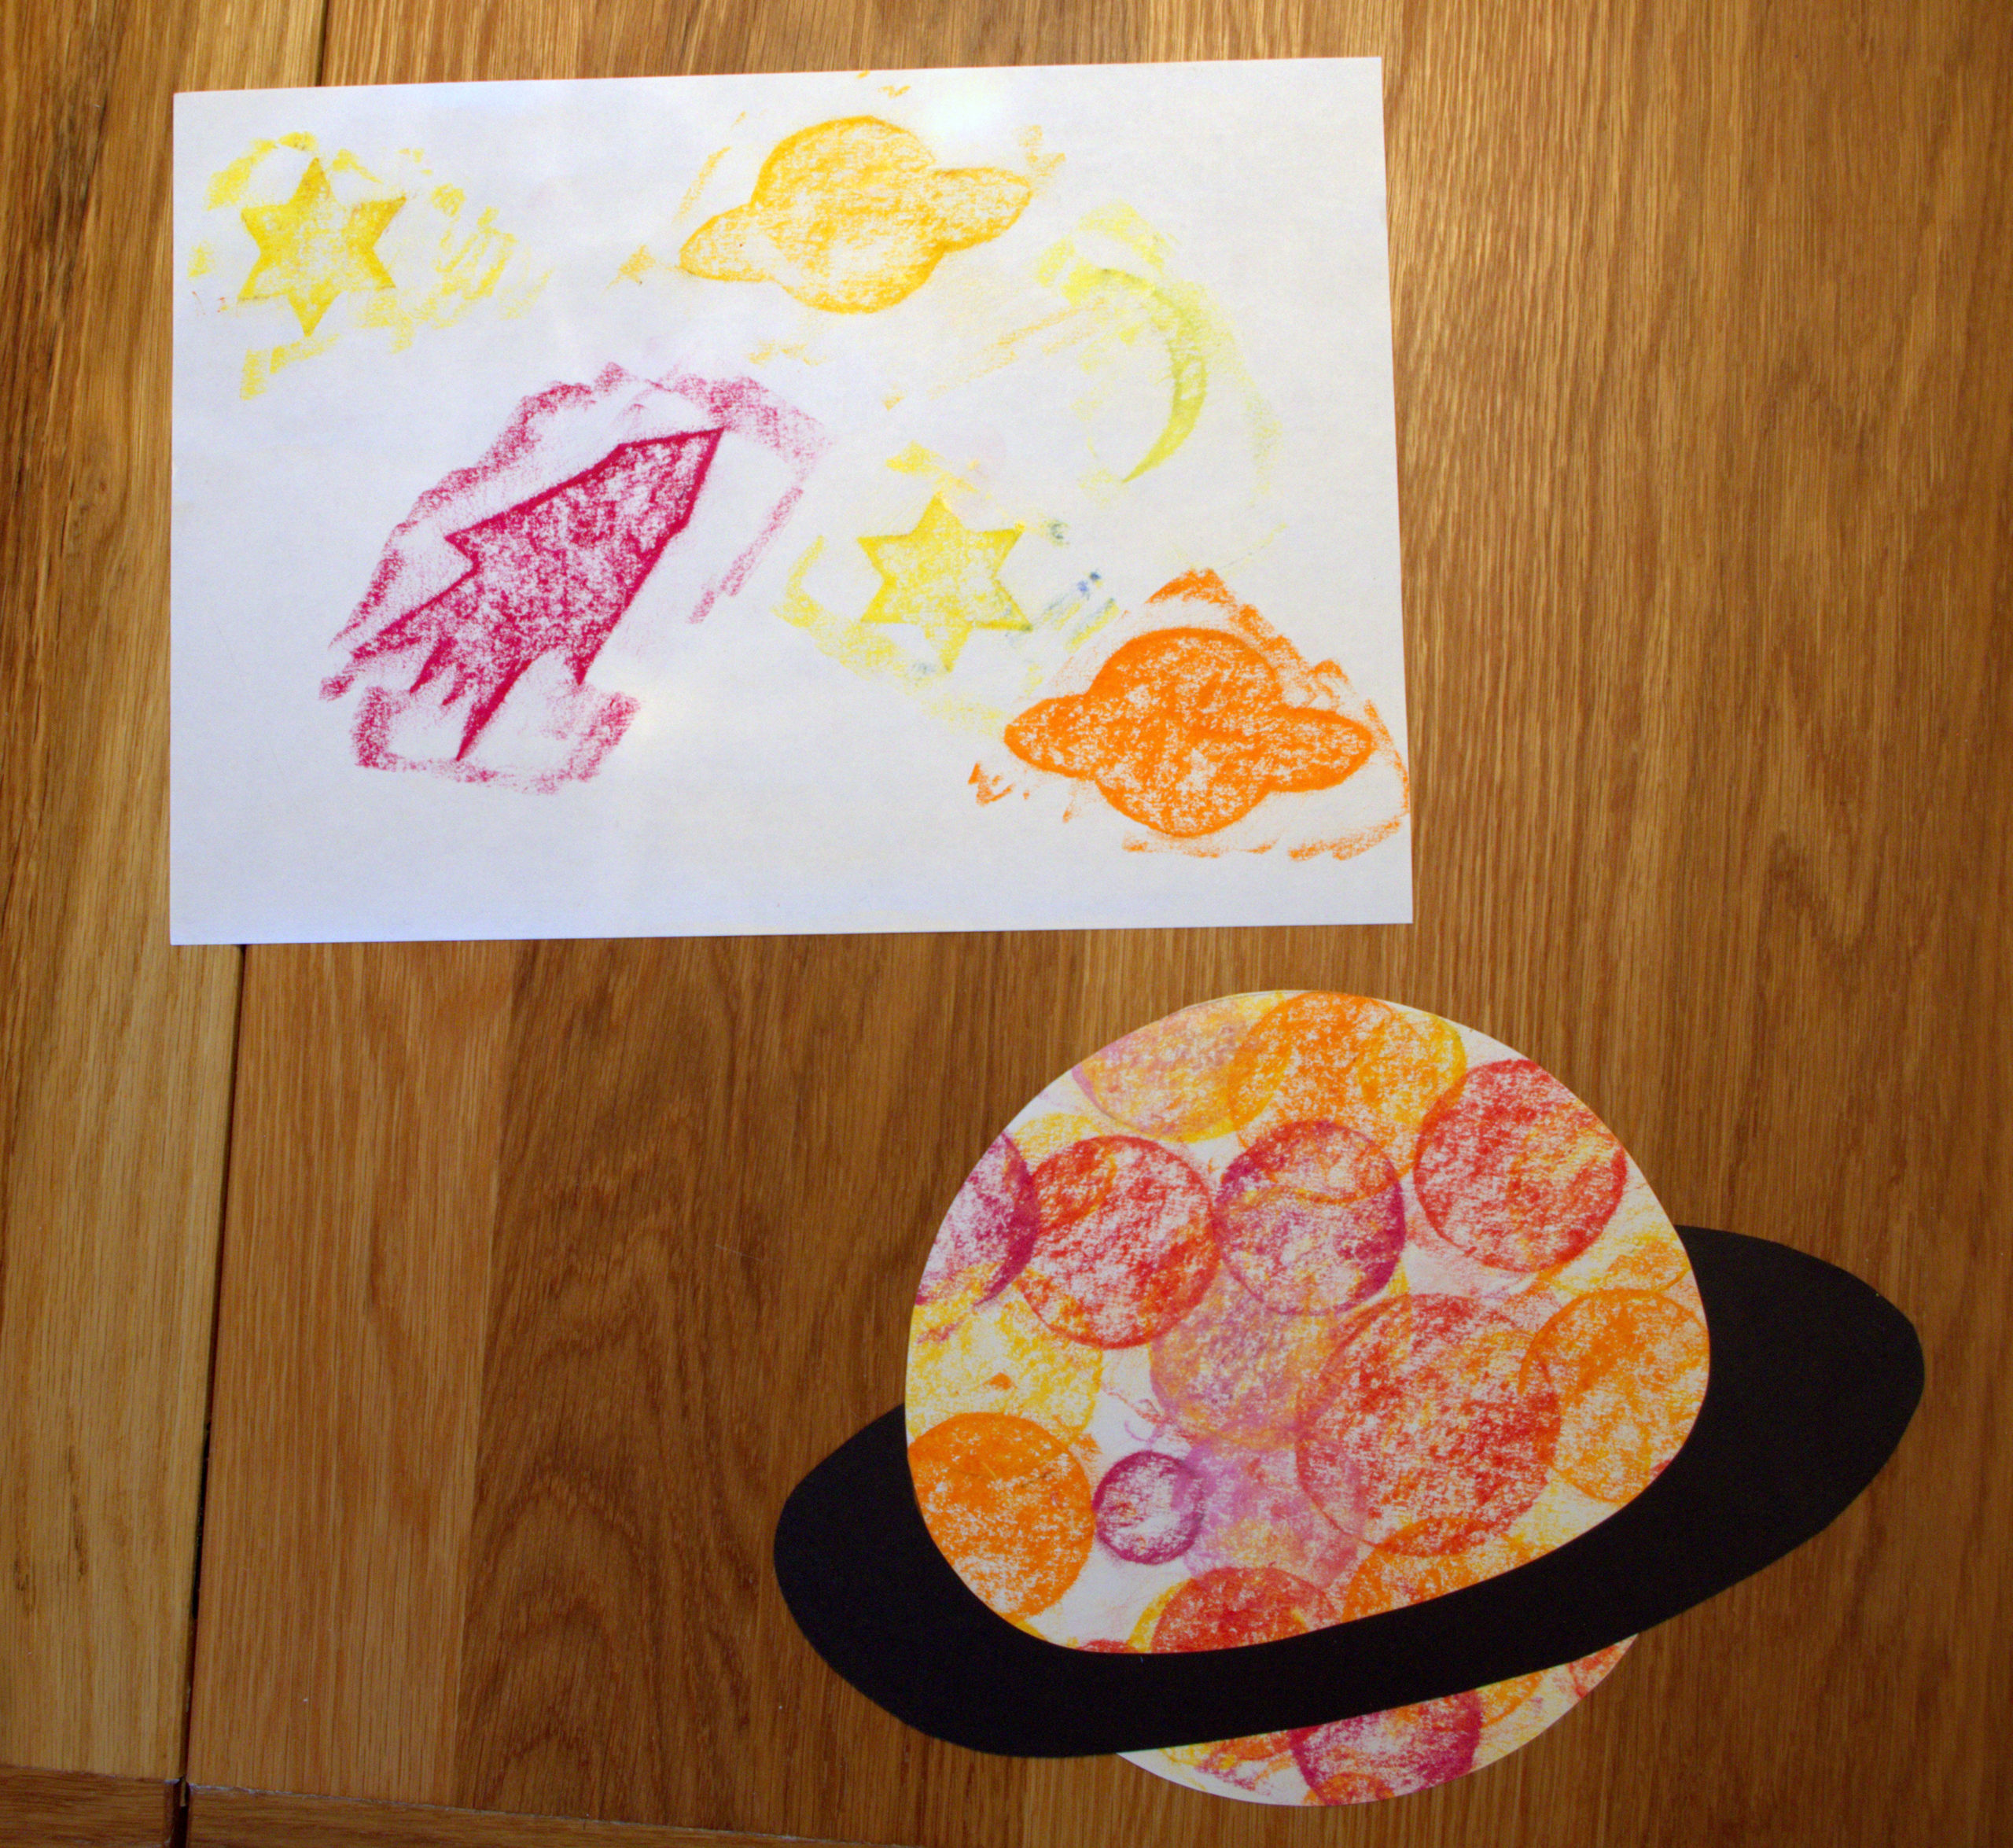
Space Scene
1. Draw some objects relating to space (or any other theme you choose) on the cardboard. You will only need one of each object, as they can be re-used but you may choose to make some in different sizes (for example, stars).
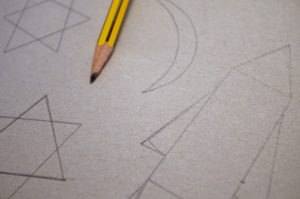
2. Cut them out.
3. Place them under the paper and invite a child to colour, using the side of the crayon, over the top to make the picture appear.
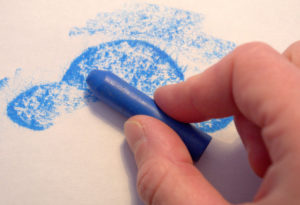
Note: Young children will probably need help holding the paper and cut-out still while they colour. If you use one cut-out at a time and sneak it under the paper without them seeing what shape it is, it will appear as they colour like magic! Older children may like to make their own cut-outs.
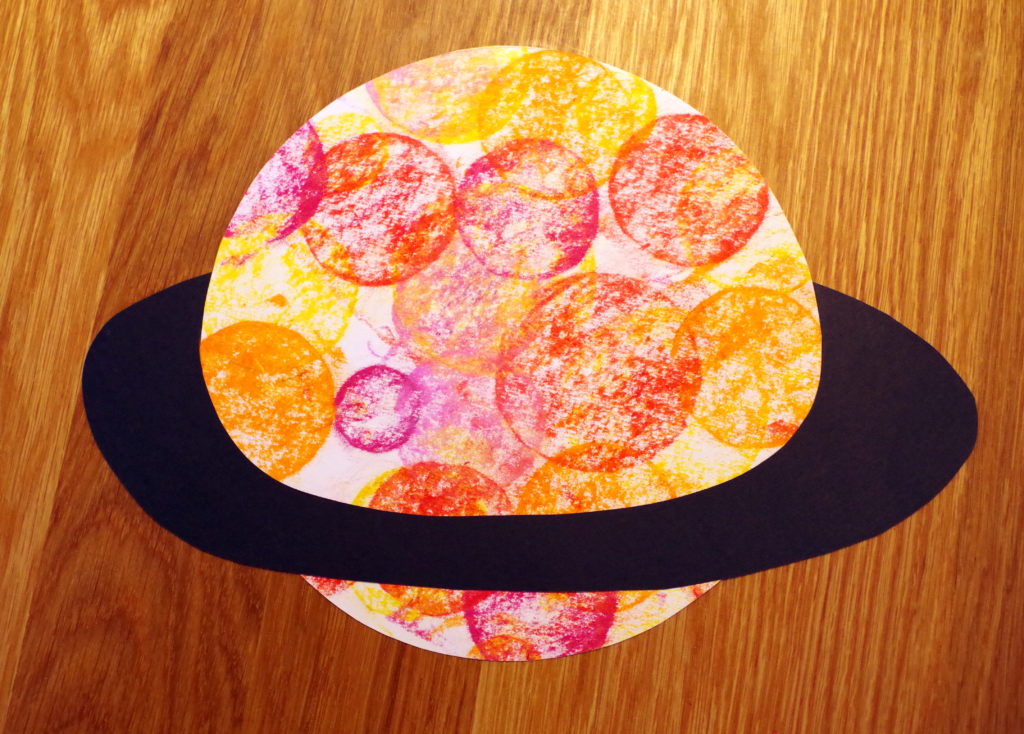
Planet Rubbing
(These instructions are written for the person doing the activity).
1. Draw round a bowl to make a large circle on a piece of paper.
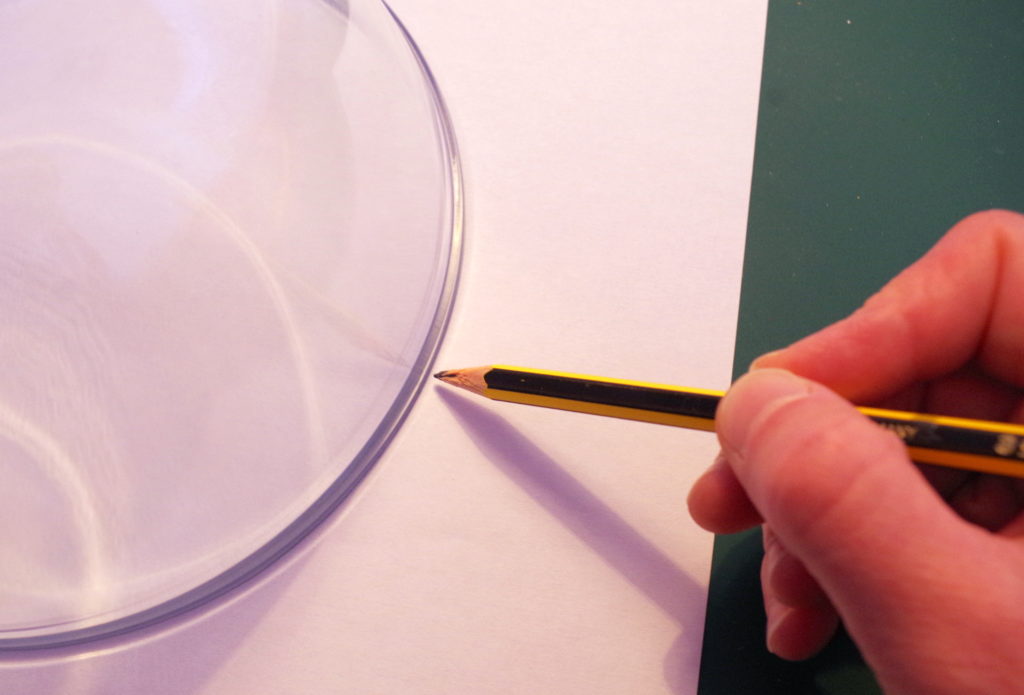
2. On the cardboard, draw round smaller objects of different sizes to make a variety of circles.
3. Cut out the cardboard circles.
4. Put the circles underneath your piece of paper (I find it easier to use one at a time).
5. Hold the circle still whilst rubbing a crayon over the top. Use the side of the crayon.
6. Move the circles around and use a few different colours to make ‘craters’ all over your planet.
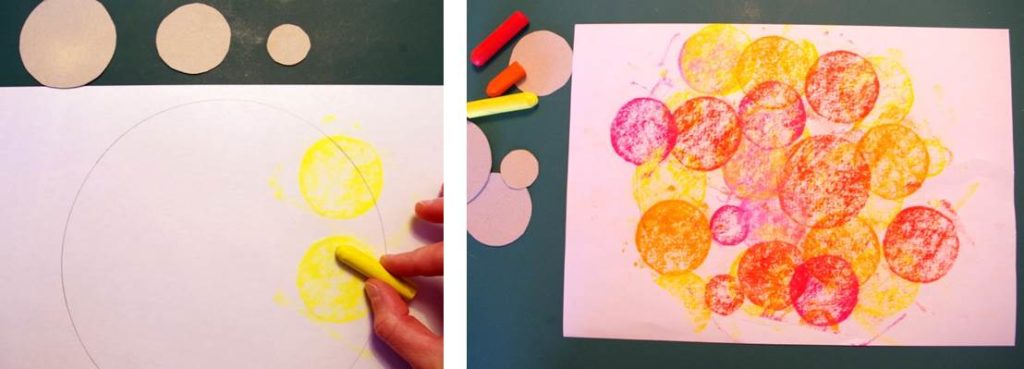
7. When you have finished, cut out the circle to finish your planet.
8. (Optional) Use a contrasting colour of paper to cut out ‘rings’ to stick onto the front of your planet.
