This craft activity for toddlers lets them rip a rainbow and create their own artwork by tearing paper. This activity requires preparation, ideally the day before.
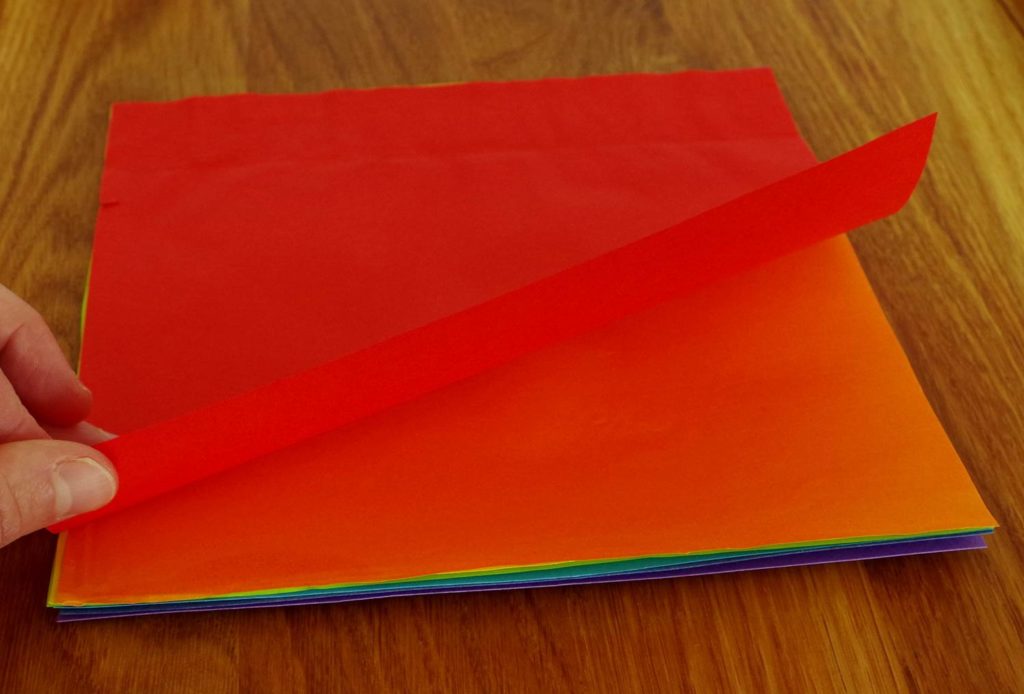
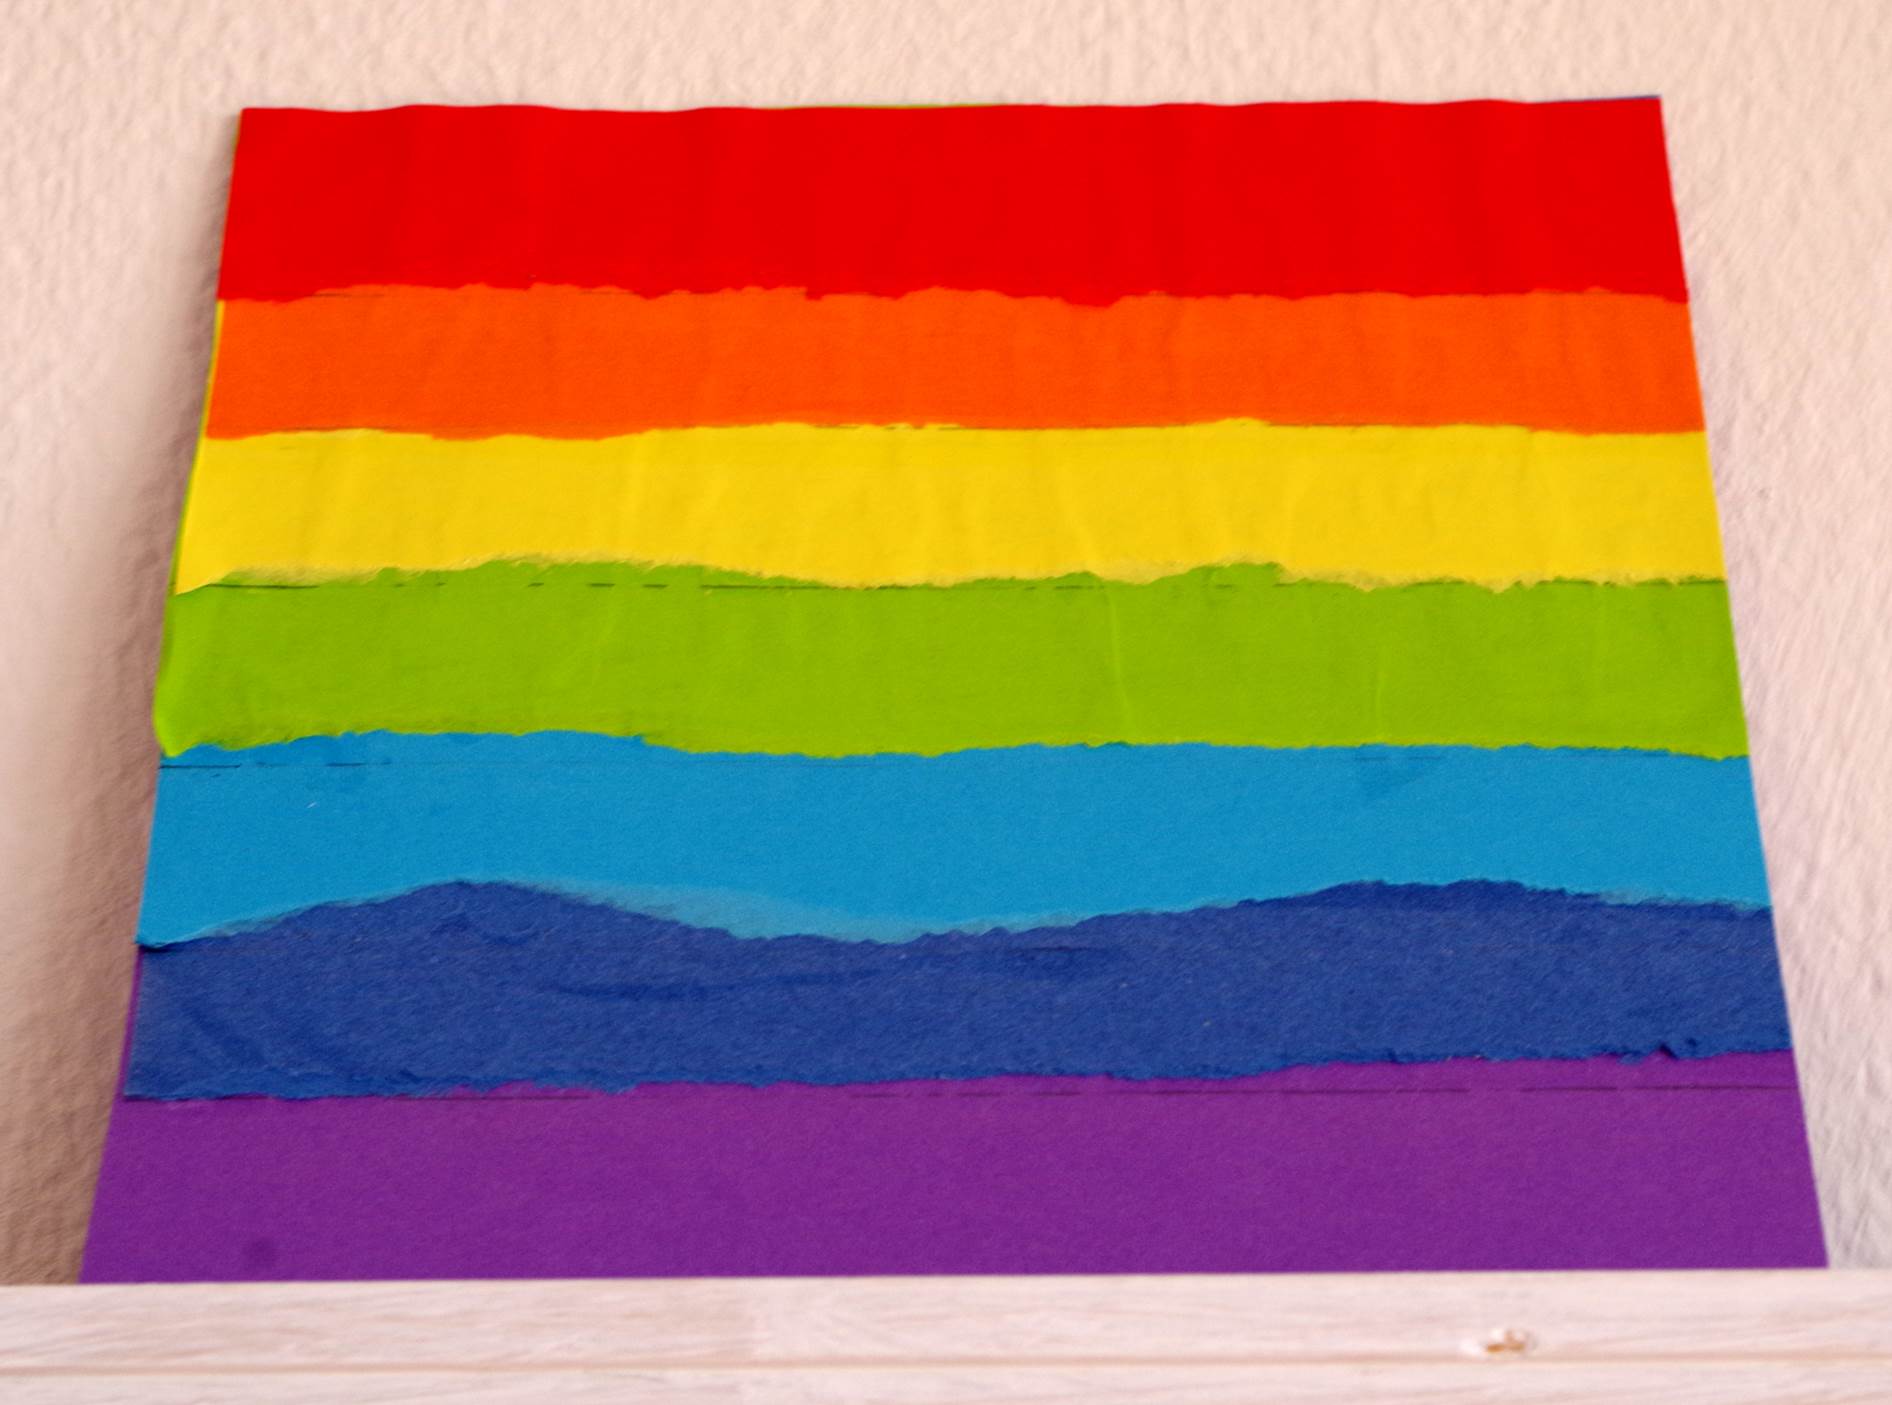
Parents often find that toddlers prefer to rip up art work than create it. This is not really destructive behaviour, it’s that the fine motor skill of tearing things is fairly new to toddlers and it’s something they need to practise and refine. Some children get great enjoyment out of ripping up paper. Unfortunately, ripping things up usually doesn’t result in an art project you can hang on the wall, just a mess. Rip a Rainbow is a craft specifically designed for toddlers that want to rip things. It’s a series of coloured sheets of paper stuck together in order so that when the toddler rips off a sheet, it leaves a new strip of colour. When all the strips have been ripped off it makes a rainbow.
Stuff Needed:
- A variety of colours of paper (if making a rainbow, all the colours of the rainbow).
- Glue (PVA is fine).
- Scissors.
- A pencil (optional).
- A ruler (optional).
- A bin or container for your toddler to put the bits in.
Tips:
- It’s best to prepare this craft the day before so it has time to dry completely before ripping.
- If you’re doing this with a group, use long sheets of paper and cut them into separate packs after they’ve been glued.
- Toddlers enjoy repetition. You may want to make a few of these at once so they can rip lots of strips.
Adult Preparation
- Decide which order the colours should be in, stack them, and cut them all to the same size. If preparing this activity for a number of children or for multiple uses, you can use wide pieces of paper and cut them into separate pieces for each use after gluing.
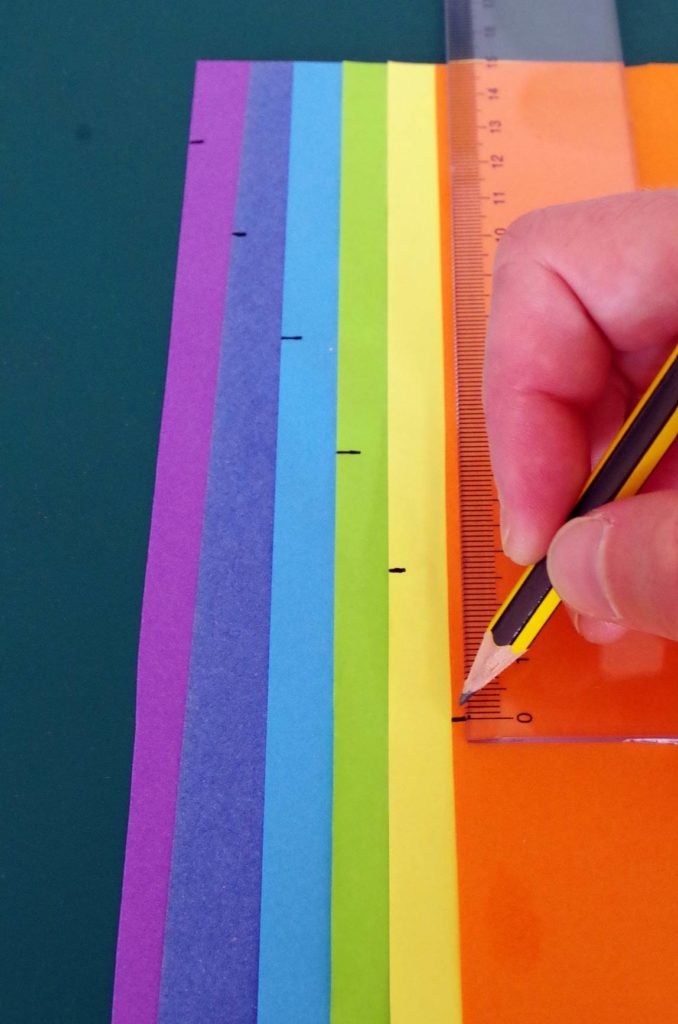
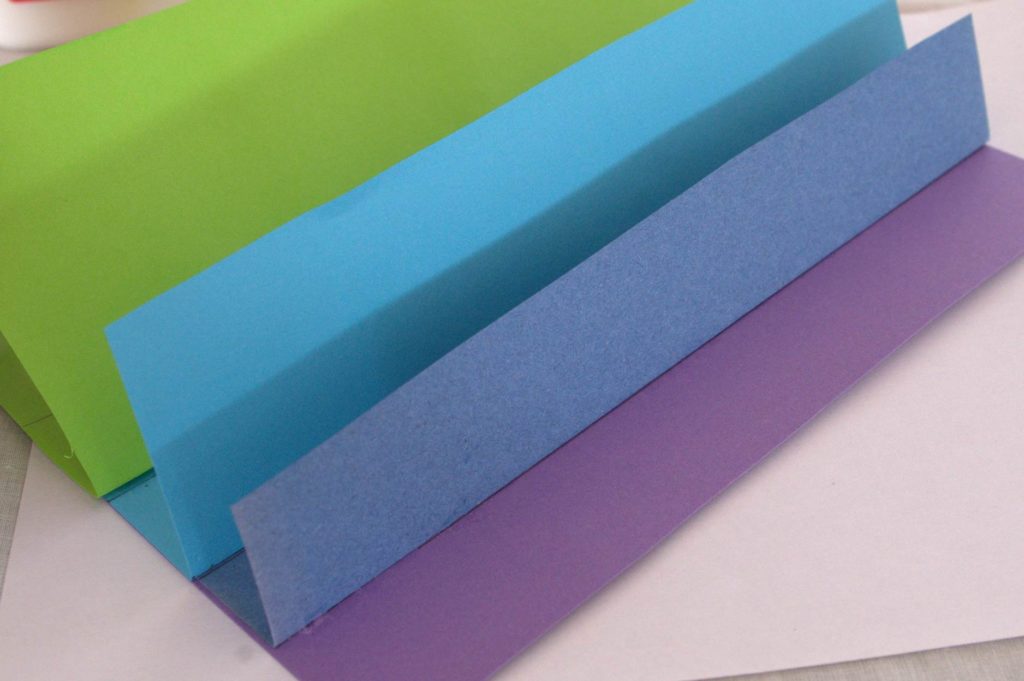
- Think about how wide each strip needs to be so that there will be space for all of them. I made each strip about 2.5cm wide. If it’s easier, you can mark the edges so you know where to glue. If you have an older child helping to prepare the activity (or making it for themselves), they will probably find it easier to draw a line all the way across each sheet. Start with the bottom one and work backwards. For example, I measured 2.5cm from the bottom of the purple sheet and drew a line across. Next I measured 5cm into the dark blue sheet and drew another line, and so on.
- Take the bottom piece of paper (purple in my rainbow example), and cover all except the strip at the bottom, below your mark, in glue.
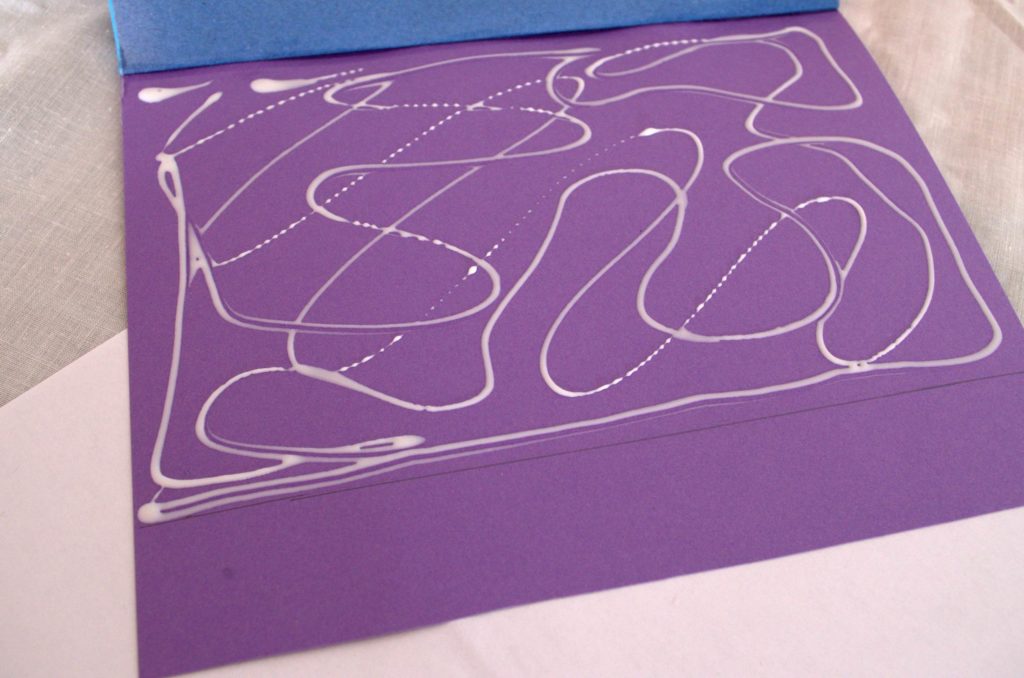
- Stick the next piece on top (in my case, dark blue).
- On the new top sheet, cover all except the double-width strip at the bottom (in my case, 5cm this time) with glue.
- Continue adding a piece of paper, and then covering progressively smaller sections with glue until the last piece is glued on by one strip of glue.
- Leave to dry completely.
- Make a small cut into the edge of each colour of paper where it will be ripped.
Toddler Activity
Encourage your toddler to rip each layer off, one at a time, producing a rainbow. Give them a bin or container to put the bits in. They could rip the strips they’ve taken off into small bits, sort them into different containers by colour and use them to make a rainbow collage as another project!